
RV maintenance is essential to ensure the safety and longevity of your motorhome. For your convenience, we have provided you with the most comprehensive RV maintenance checklist. It consists of waxing the motorhome’s exterior, doing a thorough damage check, lubricating high-wear metal areas, checking and replacing fluids, inspecting all lights and electrical components, checking seals and caulking, inspecting tires, making sure all systems are working properly, and checking for any signs of rodents, pests, or other potential hazards. The best way to make sure your RV is in top shape and ready for any adventure is to perform semi-annual or seasonal RV maintenance.
Below is the RV maintenance checklist in detail, so you can ensure that your RV is well-maintained and ready for the road. Have fun and stay safe!
1. Tire pressure and tread depth
Check the tire pressure regularly and make sure it is at the recommended level. Also, check the tread depth of the tires to ensure they have enough grip and are not worn down.
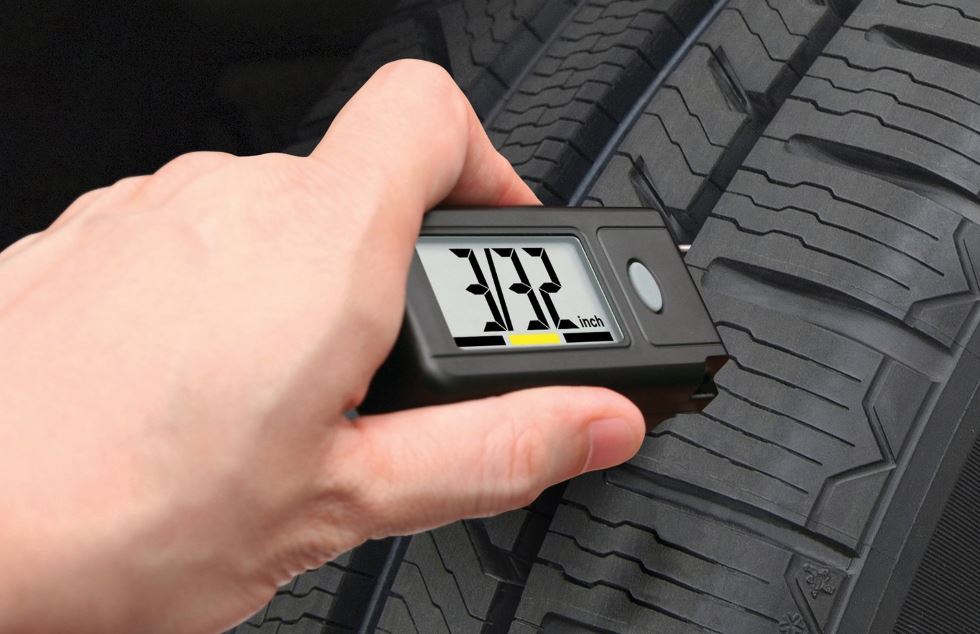
It’s great that you’re taking the time to check the tire pressure and tread depth of your vehicle. Keep your car running smoothly and safely by maintaining the recommended tire pressure level and making sure the tread depths are adequate. To check the tire pressure, you can use a tire pressure gauge. Make sure you check the pressure when the tires are cold, as the tires heat up with use and the pressure can increase. To check the tread depth, you can use a tread depth gauge. It’s important to check the tread depth of all tires and make sure they are not worn down. If the tread depth is below the manufacturer’s recommendation, you may need to consider replacing your tires. Feel free to reach out if you have any questions!
2. Brake pads and rotors
Check the brake pads and rotors for wear and replace them if necessary.
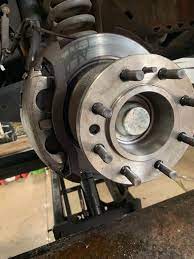
It’s a good idea to regularly check your brake pads and rotors for wear. If you notice that your brake pads have worn down, you’ll need to replace them. To check the rotors, look for any signs of cracking, grooving, or other damage. If you notice any of these issues, then it’s time to replace the rotors. To ensure that your brakes are working properly, replace worn brake pads and rotors as soon as possible.
3. Oil and filter changes
Change the oil and oil filter regularly to keep the engine running smoothly.
The longevity and proper operation of your RV’s engine are supported by regular maintenance procedures like oil and filter changes. Here are some steps you can follow to change the oil and filter in your RV:
1. Determine the type of oil and filter you need: Consult your RV’s owner’s manual to determine the type of oil and filter that is recommended for your vehicle. It’s important to use the correct type of oil and filter to ensure optimal performance.
2. Gather the necessary supplies: You will need a new oil filter, a new oil drain plug gasket (if applicable), and the appropriate amount of oil for your RV. You will also need a wrench, a drain pan, and some rags or paper towels.
3. Prepare your RV: Make sure your RV is on level ground and that the engine has had a chance to cool down. Locate the oil filter and the oil pan, and place the drain pan under the oil pan to catch any drips.
4. Remove the old oil and filter: Use the wrench to remove the oil filter and the oil drain plug. Allow the old oil to drain completely into the pan. Once the oil has drained, remove the old oil filter and dispose of it properly.
5. Install the new oil and filter: Wipe any debris from the oil pan and install the new oil filter. Replace the oil drain plug and add the recommended amount of new oil to the engine. Start the engine and allow it to run for a few minutes to circulate the new oil.
You can aid in ensuring that the engine of your RV is properly lubricated and operating smoothly by following these instructions. Be sure to perform oil and filter changes at the recommended intervals to keep your RV running at its best.
4. Engine air filter
Replace the engine air filter regularly to ensure the engine is getting enough air.
Replacing the engine air filter in your RV is a great way to keep the engine running smoothly and efficiently. To make sure the engine gets enough air, it’s critical to replace the engine air filter on a regular basis or as instructed by the manufacturer. Doing this will help maintain engine performance, improve fuel efficiency, and reduce emissions. If you’re not sure how to replace the engine air filter, you can always refer to your RV’s manual or take it to a mechanic to get it done.
5. Coolant
Check the coolant level and top it up if necessary.
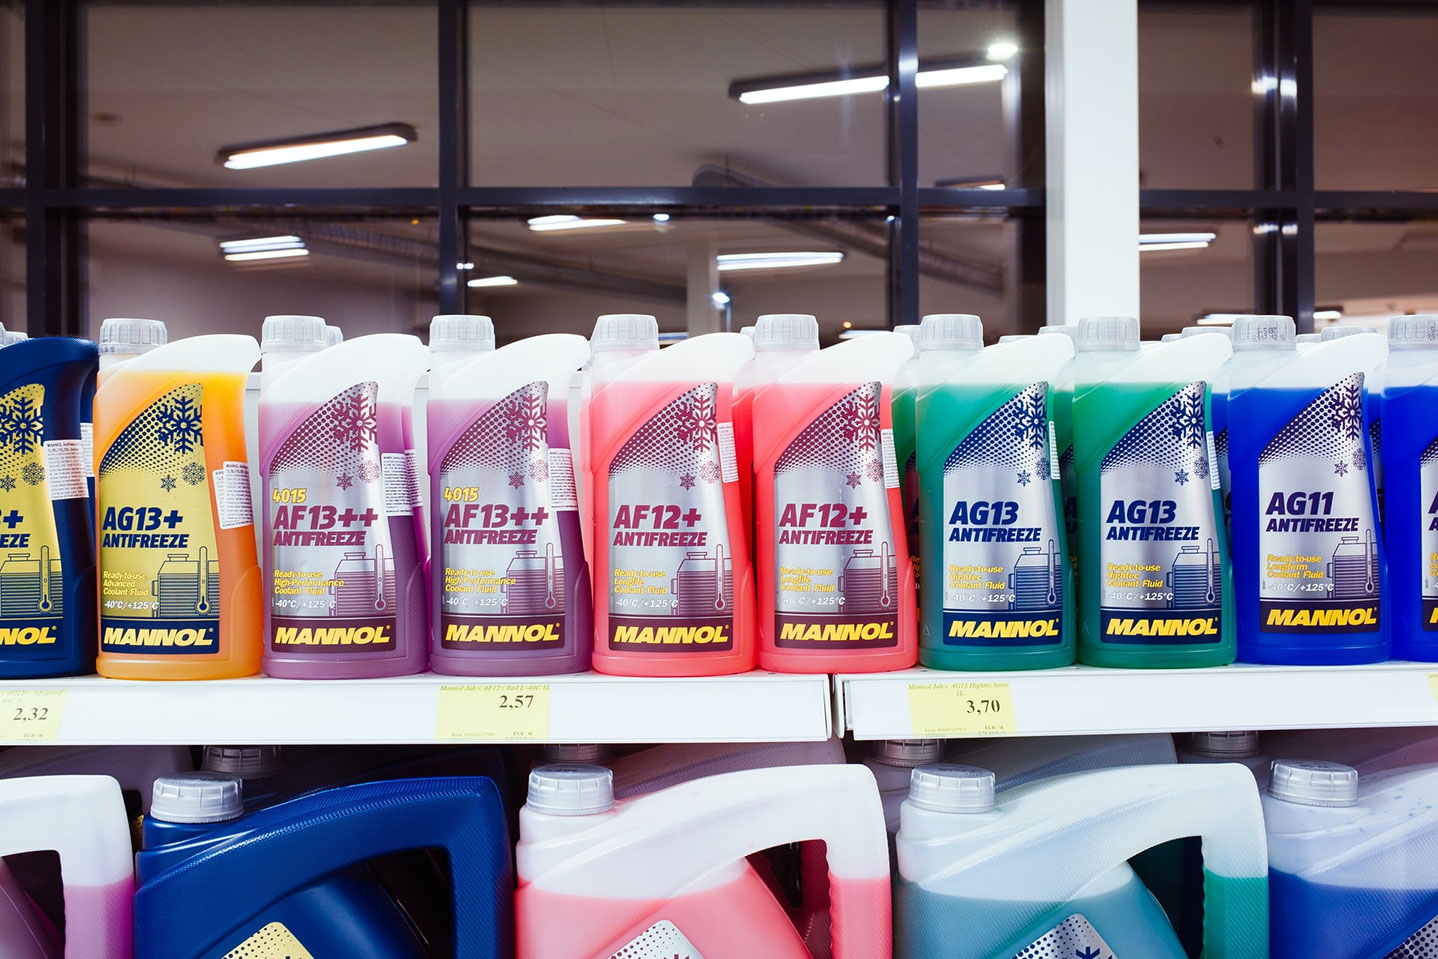
Absolutely! Checking and topping off your RV’s coolant is important for keeping your engine running smoothly. Locate the coolant reservoir and unscrew the cap to check the coolant level. You should see a brightly colored coolant liquid inside the reservoir. If the coolant level is low, you can top it up with coolant from an auto parts store. Remember to always wear gloves and safety goggles when working with coolant, and never mix coolant types.
6. Fuel filter
Replace the fuel filter regularly to ensure the engine is getting clean fuel.
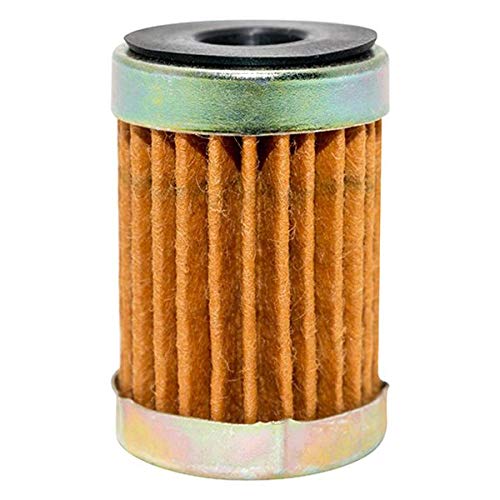
To ensure that your RV’s engine is getting the cleanest fuel possible, it’s important to replace the fuel filter regularly. It’s a relatively simple process that can easily be done at home. First, locate the fuel filter and unscrew the retaining clips that keep it in place. Then, remove the old filter and dispose of it properly. After that, put the fresh filter into the housing and tighten the retaining clips. Finally, check for leaks and restart the engine. By following these steps, you can help keep your RV running efficiently and safely.
7. Battery
Check the battery for wear and replace it if necessary.
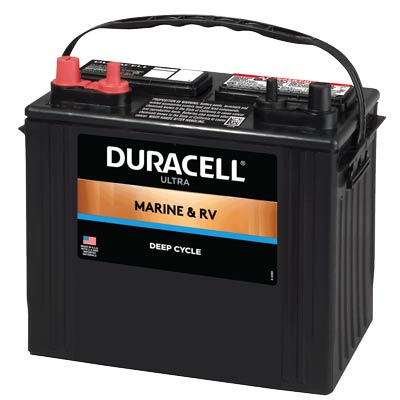
Maintaining your RV’s battery is an important part of keeping it in great shape. To check the battery for wear, you’ll need to do a visual inspection of the battery and its connections. If the battery is cracked, leaking, or otherwise damaged, it’s best to replace it with a new one. Additionally, make sure all the connections are secure and that the battery terminals are corrosion-free. If any corrosion is present, use a wire brush to clean it away before reconnecting the battery. If you have any questions or need any help, feel free to reach out.
8. Lights:
Check all the lights on the RV to make sure they are functioning properly.
For the safety and efficiency of the RV, it’s crucial to keep the lights in working order. Here are some steps you can follow to maintain your RV lights:
1. Check the bulbs regularly: Make sure all the bulbs are working properly and replace any burnt-out bulbs immediately. It’s a good idea to carry spare bulbs with you on your travels.
2. Clean the lenses: Use a soft cloth and a mild cleaner to wipe away any dirt or debris that may have accumulated on the lenses of your RV lights. This will help improve visibility and ensure that the lights are working efficiently.
3. Check the wiring: Make sure that all the wiring for the lights is in good condition and that there are no frayed or exposed wires. If you notice any issues, have them repaired by a professional.
4. Test the lights: Regularly test all the lights on your RV to ensure that they are functioning properly. This includes the headlights, taillights, turn signals, and any interior or exterior lights.
By following these simple steps, you can help ensure that your RV lights are working properly and keep you and your family safe while on the road.
9. Windows and seals
Check the seals around the windows and doors for wear and replace them if necessary.

When it comes to the maintenance of your RV, checking and replacing the seals around the windows and doors is an important step to take. This can help ensure that your windows and doors remain secure and airtight, protecting you and your family from the elements. To check the seals, be sure to inspect them for any signs of wear or damage. If any of the seals look worn, cracked, or damaged, it is best to replace them as soon as possible. To do this, buy replacement seals from your neighborhood RV supply store. Once the new seals are installed, you can rest assured that your windows and doors will be secure and airtight.
10. Plumbing
Check the plumbing system for leaks and make any necessary repairs.

Regular maintenance of your RV’s plumbing system is essential to ensure peak performance and prevent any costly repairs. The following advice will help you make sure that your plumbing system is in good working order:
1. Check all hoses and connections for any signs of wear and tear. Make sure they are snug and there are no visible signs of leakage.
2. Check the water pressure regulator to make sure it is working properly.
3. Drain your water heater periodically to remove any sediment buildup.
4. Inspect all valves for proper operation and replace any that are leaking.
5. Clean shower heads and faucets to remove any built-up mineral deposits.
6. Make sure the holding tank is properly ventilated and sealed.
7. Flush the toilet regularly to prevent clogs.
These tips will help you keep your RV plumbing system in good working order and help you avoid costly repairs!
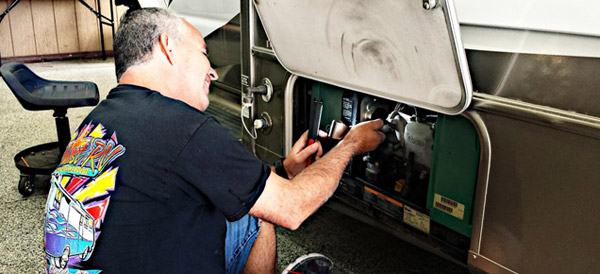
11. LP gas system
Check the LP gas system for leaks and make any necessary repairs.

Fuel for devices like the stove, oven, water heater, and refrigerator is supplied by the LP gas system in an RV. To ensure the security of the RV and its occupants as well as to increase the lifespan of the appliances and system parts, proper system maintenance is crucial. Here are some tips for maintaining the LP gas system in an RV:
1. Check the expiration date of your LP gas tanks and replace them as needed. LP gas tanks have a lifespan of about 12 years, after which they should be replaced.
2. Inspect the LP gas hose and connections for any signs of wear or damage. If the hose is damaged, it should be replaced immediately.
3. Check the LP gas regulator for any signs of wear or damage. The regulator controls the flow of gas to the appliances, and if it is not functioning properly, it can cause gas leaks or unsafe gas flow.
4. Test all of the LP gas appliances for proper operation and any signs of leaks. To test for leaks, apply a solution of soapy water to the connections and look for bubbles, which indicate a leak.
5. Keep the LP gas system and appliances clean and free of debris. This will help to prevent blockages and ensure that the system is working efficiently.
6. Follow the manufacturer’s recommendations for the proper maintenance and care of the LP gas system and appliances.
By following these tips, you can help ensure that the LP gas system in your RV is operating safely and efficiently.
12. Roof
Inspect the roof for any damage and make any necessary repairs.
Roof maintenance is an important aspect of caring for an RV. The roof of an RV is exposed to the elements and can suffer wear and tear over time. Regular maintenance and repairs are necessary to ensure the roof’s longevity and keep it safe from harm. Here are some tips for maintaining the roof of an RV:
1. Inspect the roof for any signs of damage or wear. Look for cracks, holes, or tears in the roof material and make any necessary repairs as soon as possible.
2. Clean the roof regularly to remove dirt, leaves, and other debris that can accumulate over time. This will help prevent water from accumulating on the roof and causing damage.
3. Check the roof sealant and apply a new coat as needed. The sealant helps to protect the roof from water and UV damage.
4. If the RV has a rubber roof, check it for cracks or other signs of damage and make any necessary repairs. Consider installing a roof cover or awning to provide additional protection for the roof.
By following these tips, you can help extend the life of the roof on your RV and protect it from damage.
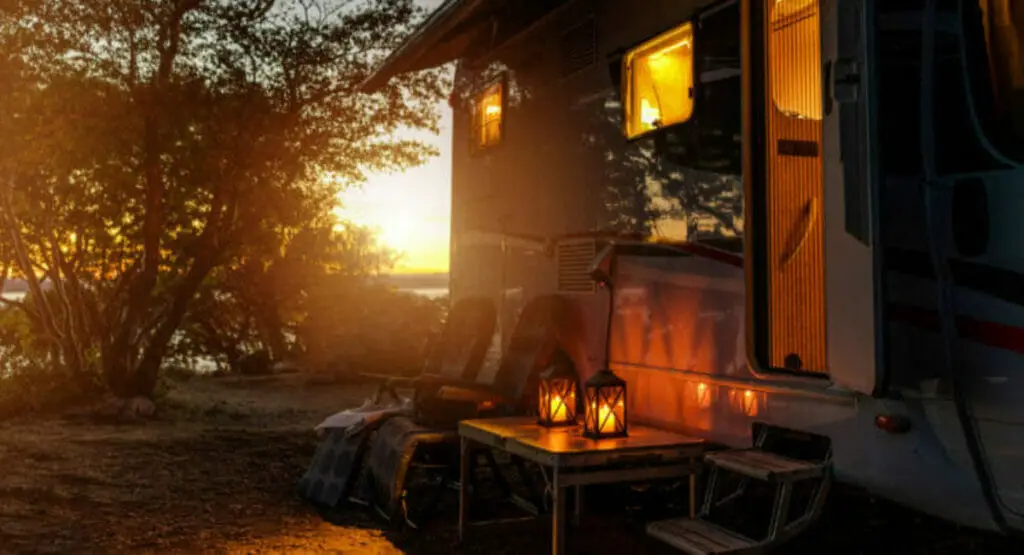
13. Exterior and Interior
Check the interior of the RV for any damage and make any necessary repairs.
Maintaining the exterior and interior of an RV is important to ensure the safety and comfort of the occupants as well as to extend the life of the vehicle. Here are some tips for maintaining the exterior and interior of an RV:
Exterior Maintenance:
1. Inspect the roof for any signs of damage or wear, and make any necessary repairs.
2. Check the exterior of the RV for any cracks, holes, or other damage, and make any necessary repairs.
3. Wash and wax the exterior of the RV to protect the finish and help prevent fading.
4. Check the tires for proper inflation and wear, and replace them as needed.
5. Inspect the brakes and make any necessary repairs or adjustments.
6. Check the fluid levels in the engine and make any necessary refills or changes.
7. Check the lighting and electrical systems for any issues and make any necessary repairs.
Interior Maintenance:
1. Check the interior for any damage or wear and make any necessary repairs.
2. Clean the interior regularly to maintain a clean and pleasant living environment.
3. Check and maintain the LP gas system and appliances to ensure they are functioning safely and efficiently.
4. Check the plumbing and water systems for any issues and make any necessary repairs.
5. Test the smoke and carbon monoxide detectors to ensure they are working properly.
You can maintain the exterior and interior of your RV and create a secure and comfortable living space by paying attention to the advice in this article.
Conclusion
To keep your RV safe and reliable, it’s crucial to adhere to a regular maintenance schedule. Maintaining an RV is important to ensure the safety and comfort of the occupants as well as to extend the life of the vehicle. To make sure that every component of the RV is in good working order, a thorough RV maintenance checklist should include a variety of tasks that can be completed inside and outside the RV.


I appreciate your reminder when you told us to check on our RV’s roof for any signs of damage or wear by looking for cracks or tears in the roof material o make sure it gets repaired as soon as possible. I need my RV for my road trip with my friends next week, so I was thinking of getting it serviced soon to prepare for it. I’ll keep this in mind while I look for an RV body repair service to hire soon.
RV maintenance is an inevitable thing, and every RV owner must learn basic maintenance tips if one wants to live and drive peacefully on the road. The best DIY that I have done up till now, is coating my RV roof with RV roof Magic for repairing, renewing and maintaining purposes. It is a self-leveling, easily applicable rubber roof sealant that can be applied by just spreading a single layer giving me a better alternative to costly roof replacements. RV Roof Magic is a solvent based coating and an ASTM certified product that can be applied to almost all kinds of RV roofing materials giving an enduring, waterproof solution for a fraction of cost. Its thick liquid, seeps into cracks, minor openings, holes and dries into a watertight, flexible coating that will stop leak issues immediately extending the RV roof’s service life for the next 15 to 20 years.
I’m borrowing my dad’s motorhome for my camping trip with friends next week, so I need to make sure its condition is good first before we leave. It’s good that you mentioned that our maintenance must include checking the tire pressure and tire depth since this will assure us that the RV will run smoothly and safely during our trip if we make sure the tires aren’t worn down just yet. I’ll keep this in mind while I look for an RV company in Spokane to hire for the repairs soon.