Introduction
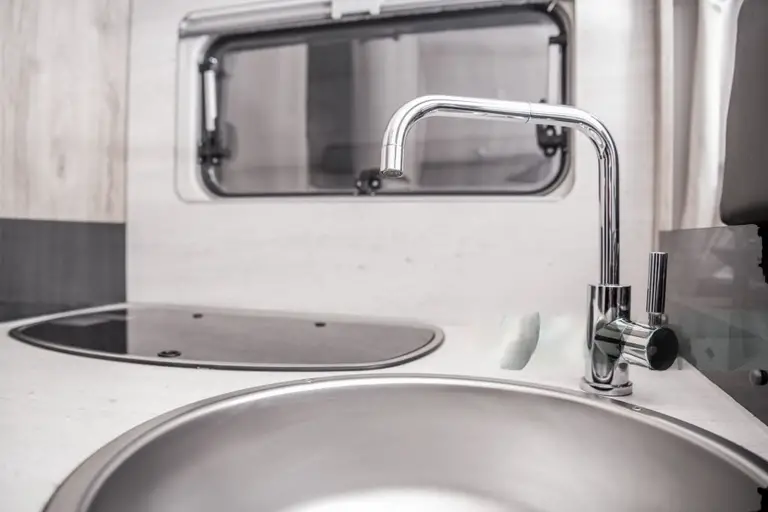
If you’re dealing with a leaking kitchen sink in your RV, it can quickly become a frustrating issue. Not only does a leaking sink create a mess, but it can also lead to water damage and potential mold growth if left unaddressed. Understanding the causes of the leak and knowing how to fix it can save you time, money, and the headache of dealing with ongoing problems. Let’s explore the common reasons behind RV kitchen sink leaks underneath and some simple do-it-yourself solutions.
1. Common Causes of RV Kitchen Sink Leaks Underneath
I. Loose Connections:
One of the primary reasons for a leaking RV kitchen sink is loose or improperly connected plumbing fittings. Over time and with the constant vibrations of travel, connections can become loose, causing water to seep out.
II. Worn Out Seals or Gaskets:
The seals and gaskets around the sink’s drain fittings can degrade over time, allowing water to escape. This is a common issue in older RVs or sinks that have seen heavy use.
III. Cracked or Damaged Pipes:
Damage to the piping underneath the sink, either due to freezing temperatures or physical impact, can cause leaks. Inspect the pipes carefully for any signs of cracks or splits.
IV. Clogged Drain:
A clogged drain can cause water to back up and leak underneath the sink. Food particles, grease, or debris may accumulate in the drainpipe, leading to slow drainage and eventually leaks.
2. DIY Solutions to Fix RV Kitchen Sink Leaks
I. Tighten Connections:
Start by inspecting all visible plumbing connections under the sink. Use a wrench to tighten any loose fittings gently. Avoid over-tightening, as this can cause damage.
II. Replace Seals and Gaskets:
If you notice water pooling around the drain area, it’s likely due to worn-out seals or gaskets. Purchase replacement parts from your local RV store and follow manufacturer instructions to replace them.
III. Patch Cracks or Holes:
If you find any cracks or holes in the pipes, use epoxy putty or plumbing tape to seal them temporarily. For a permanent solution, replace the damaged section of the pipe.
IV. Clear Clogged Drains:
To clear a clogged drain, use a plunger or a drain snake to remove the obstruction. Avoid using harsh chemical drain cleaners as they can damage your RV’s plumbing system.
V. Inspect Sink Basin:
Occasionally, leaks can originate from the sink basin itself. Check for cracks or damage on the surface of the sink. If you find any, consider replacing the sink.
3. Tips for Prevention
I. Regular Inspections:
Routinely inspect the plumbing under your RV kitchen sink for signs of wear and tear.
II. Proper Use and Maintenance:
Avoid putting large food scraps or grease down the drain, as this can contribute to clogs.
III. Winterization:
If you live in colder climates, ensure your RV’s plumbing is properly winterized to prevent freezing and pipe damage.
IV. Use RV-Friendly Products
When cleaning your RV kitchen sink and plumbing system, use RV-friendly cleaning products that are compatible with plastic and metal surfaces. Harsh chemicals can degrade seals and cause leaks.
Conclusion
Dealing with a leaking kitchen sink in your RV doesn’t have to be overwhelming. By understanding the common causes of leaks and following these DIY repair and prevention tips, you can effectively resolve the issue and maintain your RV plumbing system in optimal condition. Remember, if you encounter a complex plumbing problem beyond your expertise, it’s always best to seek professional assistance to prevent further damage. With regular maintenance and care, you can enjoy worry-free travels in your RV kitchen!


