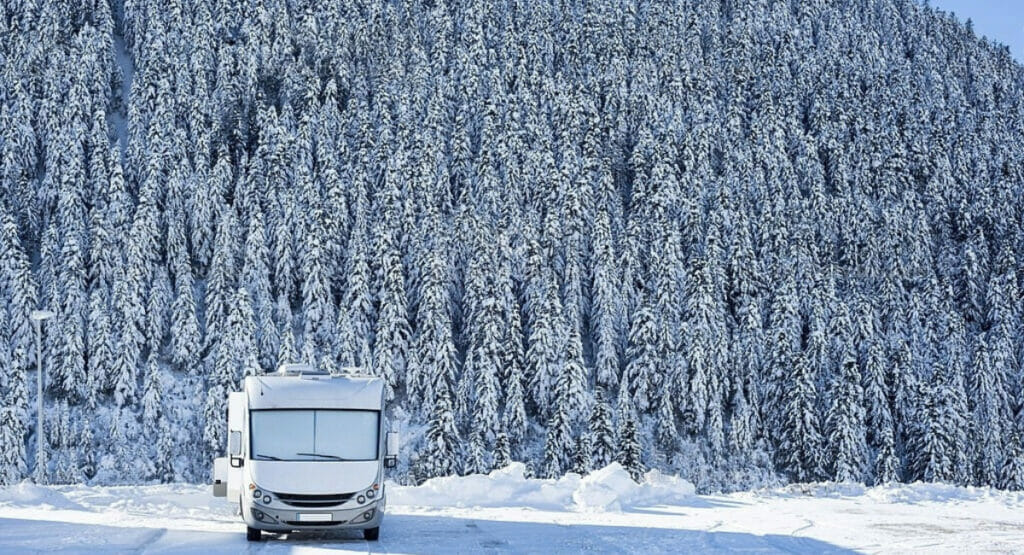
During the winter months, it’s important to ensure that your RV is properly prepared for the elements. This includes taking the appropriate safeguards to protect your RV from the harsh elements of the season. Winterizing your RV is one of the most crucial tasks in preparing it for the winter. Winterizing your RV entails a number of actions that must be performed to protect it from cold temperatures, snow, and ice. In this post, we’ll go through a detailed RV winterizing checklist to make sure your RV is ready for the winter.
Why do you need Checklist?
Winterizing your RV is crucial to prevent damage from freezing temperatures, ice, and snow. Failure to winterize can result in costly repairs and render the RV inoperable for the season. To help with the process, a comprehensive RV winterizing checklist is available. The checklist provides step-by-step instructions to properly winterize the RV and emphasizes the importance of using the right tools and taking care during the process. By using the checklist, you can have peace of mind that your RV is well-protected from harsh winter elements and save money on repairs in the long run.
1. Gather Supplies
Winter can be a beautiful season for RV enthusiasts, with snowy landscapes and fewer crowds in campgrounds. However, it’s important to take precautions to protect your RV from the harsh winter weather. One essential step in winterizing your RV is to gather the necessary supplies. Proper winterization can prevent damage to your RV’s plumbing system, water heater, and other components, saving you from expensive repairs in the spring. In this guide, we will provide you with a checklist of supplies you’ll need to effectively winterize your RV and prepare it for the colder months ahead.
Before winterizing your RV, make sure you have all of the items you’ll need to keep it safe from the elements. Here’s a list of the materials you’ll need:
1. Non-toxic RV antifreeze:
This is used to keep the plumbing system in your RV from freezing. Make sure you obtain the correct quantity for the size of your RV.
2. Water pump conversion kit:
This item is used to pump antifreeze through the plumbing system of your RV.
3. Water heater bypass kit:
This allows you to bypass your RV’s water heater during winterization, saving you money on antifreeze.
4. Air compressor:
This is used to blast away any residual water from the plumbing system of your RV.
5. Pipe insulation:
This keeps any exposed pipes from freezing by insulating them.
6. RV cover:
This is used to protect the outside of your RV from the elements.
7. Sealant:
This is used to fill any gaps or cracks in the exterior of your RV to avoid drafts and water leaks.
2. Drain Water Tanks
Draining the water tanks is an essential part of RV winterization. This guarantees that there is no water left in the tanks that might freeze and harm the RV’s plumbing system. The following are the steps for emptying the water tanks:
Step 1: Cut off the water supply:
Turn off your RV’s water supply. This will keep any further water out of the tanks.
Step 2: Open the faucets:
Turn on all of your RV’s faucets, including the hot and cold water taps. This will allow any residual water to drain from the system.
Step 3: Empty the fresh water tank:
Find the fresh water tank drain valve, which is usually situated below the RV. To empty the tank, place a container beneath the valve and open it.
Step 4: Drain the hot water heater:
Switch off the hot water heater’s electricity and allow it to cool. Once it has cooled, locate the drain valve, which is usually at the bottom of the tank, and place a container beneath it. To drain the tank, turn on the valve.
Step 5: Empty the gray and black water tanks:
If your RV contains gray and black water tanks, these must also be emptied. Drain these tanks according to the manufacturer’s instructions.
Safety precautions
It is critical to take safety precautions when draining the tanks to avoid damage. Use gloves and eye protection to keep yourself safe from any debris or chemicals in the water. To guarantee that all of the water is correctly drained, make sure the RV is level before draining the tanks. Furthermore, ensure that the water is disposed of properly and in accordance with local regulations.
You can safeguard your RV from the possible harm caused by frozen water by properly emptying the tanks and adopting safety precautions.
3. Flush Water Systems
Another key step in RV winterization is flushing the water systems. This aids in the removal of any residual water from the system as well as the prevention of any remaining water from freezing and causing harm to the RV’s plumbing system. The following are the steps for flushing the water systems:
Step 1: Cut off the water supply
Before you begin, turn off your RV’s water supply. This will keep any further water out of the system.
Step 2: Open the faucets
Turn on all of your RV’s faucets, including the hot and cold water taps. This will allow any residual water to drain from the system.
Step 3: Apply antifreeze
Using a hand pump or gravity feed technique, add antifreeze to the water system. Make careful you buy antifreeze designed exclusively for RVs.
Step 4: Flush the system
Turn on the water pump and run each faucet until you see the antifreeze pouring out. This will verify that all the water in the system has been replaced with antifreeze.
Step 5: Flush the toilet
Flush the toilet many times to verify that all the water in the toilet bowl and tank has been replaced with antifreeze.
Step 6: Run the hot water heater
Switch on the hot water heater and run the hot water taps until you see antifreeze pouring out.
Safety precautions
It is critical to take safety precautions when cleansing the water systems to avoid damage. Use gloves and eye protection to keep yourself safe from any debris or chemicals in the water. Make sure you properly dispose of the antifreeze in accordance with local legislation.
You can safeguard your RV from the possible harm caused by frozen water by cleaning the water systems and following safety precautions.
4. Add Antifreeze
Winterizing your RV requires you to add antifreeze to the plumbing system. Throughout the winter, antifreeze keeps your RV’s plumbing from freezing. Following are the measures to take when applying antifreeze to the plumbing system of your RV:
1. Turn off the water supply:
Before you begin, turn off the water supply to your RV. This will prevent any additional water from entering the system.
2. Drain the water tanks:
Drain all the water from the tanks, including the fresh water tank, gray water tank, and black water tank. This will help remove any remaining water from the system.
3. Locate the water pump:
Locate the water pump in your RV. This is typically located near the water tank.
4. Connect a hose to the water pump:
Connect a short hose to the water pump’s inlet side
5. Hose in a jug:
Place the other end of the hose in a jug of antifreeze.
6. Turn on the water pump:
Turn on the water pump and run each faucet until you see the antifreeze coming out. This will ensure that all the water in the system has been replaced with antifreeze.
5. Flush the toilet:
Flush the toilet several times to ensure that all the water in the toilet bowl and tank has been replaced with antifreeze.
Safety precautions
It’s critical to take safety precautions while applying antifreeze to your RV’s plumbing system to avoid harm. Use gloves and eye protection to keep yourself safe from any debris or chemicals in the water. Make sure you properly dispose of the antifreeze in accordance with local legislation.
5. Seal Windows and Doors
Winterizing your RV begins with sealing the windows and doors. This helps prevent cold air from entering your RV and can help keep it comfortable throughout the winter months. Following are the steps to take when sealing your RV’s windows and doors:
Step 1. Check the windows and doors
Before you begin, inspect the windows and doors of your RV for any gaps or cracks that need to be sealed.
Step 2: Clean the windows and doors
Clean the windows and doors thoroughly to eliminate any dirt or debris that may prevent the sealant from sticking correctly.
Step 3: Apply weather stripping
Apply weather stripping to the windows and doors to create a tight seal. Weather stripping comes in a number of materials, such as foam, rubber, or silicone.
Step 5: Use caulking
Apply caulking to fill any gaps or cracks around the windows and doors. Be sure you choose to caulk particularly formulated for use on RVs.
Step 6: Install storm windows:
Consider adding storm windows to provide an additional layer of insulation and protection against the cold.
Benefits of sealing windows and doors
There are several advantages to sealing your RV’s windows and doors. Second, it can help improve your RV’s energy efficiency, which can save you money on heating costs. Second, sealing your RV’s windows and doors can help to improve the degree of comfort inside your RV, making it a more comfortable place to spend time during the winter months. Finally, sealing your RV’s windows and doors may help to protect it from harm caused by moisture or other exterior circumstances.
6. Cover Exterior
Covering the exterior of your RV is a vital step in keeping it safe from the weather throughout the winter. Here are the measures to take while coating the exterior of your RV:
Step 1: Clean the exterior
Before you begin, clean the exterior of your RV to remove any dirt or debris that may scratch the surface.
Step 2: Choose a cover
Select a cover that is particularly built for the size and shape of your RV. There are many different types of coverings available, ranging from simple tarps to more substantial, weather-resistant covers.
Step 3: Cover the roof
Begin by covering the roof of your RV, making sure that the cover is properly fastened and leaves no gaps.
Step 4: Cover the sides
Next, cover the sides of your RV, making sure the cover goes all the way to the ground.
Step 5: Fasten the cover
Use bungee cords or other ties to keep the cover in place, making sure it is snug and does not flap in the wind.
Benefits of covering the exterior
There are various advantages to covering the exterior of your RV. For starters, it might help extend the life of your RV by shielding it from potential winter damage. Second, covering the exterior of your RV may help minimize the amount of upkeep necessary, saving you both time and money. Lastly, covering the exterior of your RV may help to protect its appearance, ensuring that it looks great for years to come.
Covering the exterior of your RV is a critical step in winterizing it. By taking these easy steps, you can help protect your RV from the weather and keep it looking and performing at its best for years to come.
7. Protect Tires
Tire protection is a crucial step in winterizing your RV. Here are the procedures to take to safeguard the tires on your RV:
Step 1: Inflate the tires
Before you begin, make sure that your RV’s tires are properly inflated to the manufacturer’s recommended pressure.
Step 2: Clean the tires
Use soap and water to remove any dirt or debris that has developed on them.
Step 3: Add a protectant
To help prevent cracking and dry rot caused by winter conditions, apply a protectant to the tires.
Step 4: Cover the tires
Use tire covers to protect the tires from the sun, snow, and other elements.
Step 5: Storing the RV
If feasible, keep your RV in a covered location or garage to keep the tires safe.
It is important to protect your RV’s tires since it helps to extend their life and maintain their safety. Unprotected tires can fracture and dry out over time, resulting in blowouts and other potentially dangerous circumstances. Also, preserving your RV’s tires might help avoid damage to the rims and other components of the vehicle.
Benefits of protecting tires
There are several advantages to preserving your RV’s tires. For starters, it can make them survive longer, decreasing the need for frequent replacements. Second, preserving your RV’s tires can increase safety by lowering the danger of blowouts and other tire-related mishaps. Lastly, preserving your RV’s tires may assist in enhancing overall performance, ensuring that your RV handles well and is easy to drive.
8. Remove Batteries
The removal of your RV’s batteries is a critical step in winterizing your RV. Following are the steps to remove the batteries from your RV:
Step 1: Turn off all electricity
Before you begin, ensure that all power to your RV is turned off.
Step 2: Find the batteries
Find the batteries in your RV. They are often found beneath the hood or in a compartment next to the engine.
Step 3: Disconnect the negative cables
Remove the negative cables from the batteries with a wrench or pliers.
Step 4: Disconnect the positive cables
Remove the positive cables from the batteries with a wrench or pliers.
Step 5: Remove the batteries
Remove the batteries from the RV with care.
Step 6: Battery storage
Keep the batteries out of reach of anything that might catch fire and in a dry, cold environment.
Removing your RV’s batteries is vital because it protects them from cold-weather harm. Batteries can fracture and leak in cold temperatures, causing damage to your RV and the possibility of a fire. Also, removing the batteries from your RV might help extend their life by keeping them from discharging and perhaps getting damaged.
Benefits of Removing batteries
There are various advantages to removing the batteries from your RV. For starters, it can make them survive longer, decreasing the need for frequent replacements. Second, it can aid in the prevention of electrical system damage, which can be costly to fix. Lastly, removing the batteries from your RV can help increase safety by lowering the danger of fires or other electrical incidents.
9. Store RV
It is essential to store your RV correctly in order to maintain it in good shape and have it ready for your next journey. Here are the steps for storing your RV:
Step 1: RV cleaning
Before putting your RV away, make sure to give it a complete cleaning on the inside and exterior. This will assist in keeping dirt, dust, and grime at bay over time.
Step 2: Empty all tanks
Ensure that all tanks, including the fresh water, gray water, and black water tanks, are empty. This will assist to keep your RV clean and avoid smells.
Step 3: Remove all perishables
Remove any perishable things from your RV, including food, toiletries, and other items that might deteriorate or attract pests.
Step 4: Shut all windows and doors
To keep pests and weather out, be sure you close all windows and doors firmly.
Step 5: Cover your RV
To protect it from the weather, cover it with a breathable cover. This will aid in the prevention of fading, rusting, and other sorts of damage.
Step 6: Disconnect the battery
To prevent it from discharging, disconnect the battery and keep it in a cool, dry area.
Step 7: Install dehumidifiers
Install dehumidifiers inside your RV to avoid moisture accumulation and mold growth.
Appropriate RV storage is essential since it may help to avoid damage from weather, bugs, and other reasons. You may help protect your RV from rain, snow, and other weather conditions by storing it in a dry, cool location with a breathable cover. Also, correctly storing your RV might help prevent pests from entering and causing harm.
Some other RV storage tips
1. To protect your RV’s tires from sun damage, use tire covers.
2. To avoid tire and suspension damage, keep your RV on a level surface.
3. To avoid moisture accumulation and condensation, keep your RV’s gasoline tank filled.
4. To keep your RV’s gasoline fresh and prevent it from degrading, consider adding a stabilizer.
5. You can help guarantee that your RV is properly maintained and ready for your next vacation by following these guidelines.
Conclusion
In conclusion, winterizing your RV is an important step in protecting it from the harsh winter weather. By following this comprehensive RV winterizing checklist, you can ensure that your RV is well-prepared for the winter season. Remember to take all necessary safety precautions and use the right supplies for the job. By properly winterizing your RV, you’ll not only protect it from damage but also save money on repairs in the long run.


