How to remove dried poop from an RV tank? Keeping your RV tank clean is critical for a pleasant journey. However, dealing with dried poop in the tank can be difficult. In this comprehensive guide, we will show you how to effectively remove dried poop from your RV tank. In addition, we’ll discuss preventive measures to help you keep your tank clean and odor-free for future travels. Let’s get started!
I. Preparing for the Cleanup:
Gather the following materials and tools before beginning the cleanup process:
1. Rubber gloves:
Put on a pair of tough rubber gloves to protect your hands from any potential contamination.
2. Protective eyewear:
Protective eyewear such as safety goggles protects your eyes from splashes or debris.
3. Waste disposal hose or portable tank:
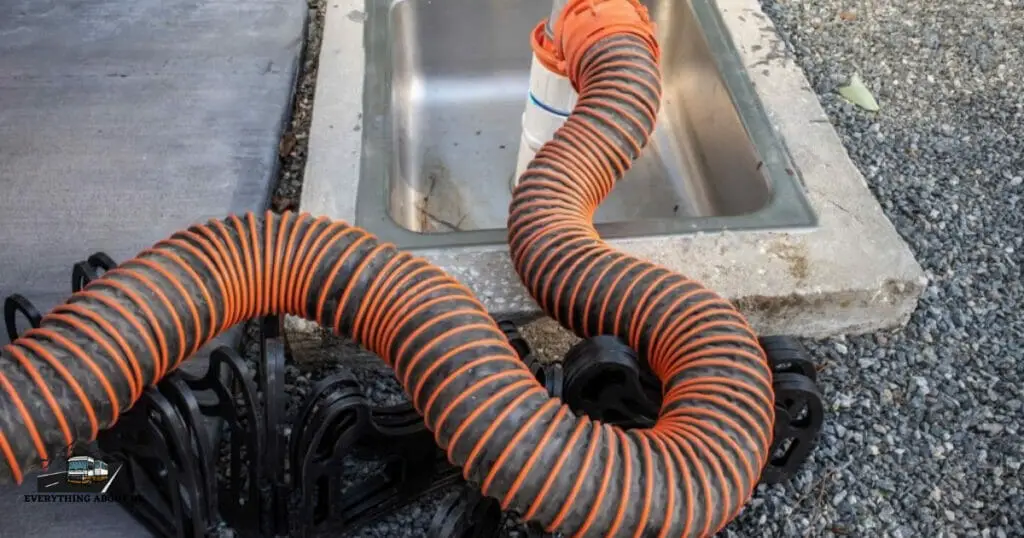
You’ll need a hose connected to a sewer or a portable tank where you can safely dispose of the waste.
4. Cleaning solution for RV tanks:
Select a cleaning solution that is specifically designed for RV tanks. Look for effective products against dried waste while also being safe for the materials in your tank.
5. Long-handled scrub brush or toilet brush:
Choose a brush with a long handle so that you can easily reach all areas of the tank. Scrubbing the tank walls with a toilet brush is another option.
6. Plenty of water for rinsing:
Make sure you have enough water to rinse the tank thoroughly.
Remember that your safety is of the utmost importance during the cleanup process. Wear rubber gloves and protective eyewear the entire time to keep yourself safe from potential hazards.
II. How to Remove Dried Poop from an RV Tank? Step-by-Step Guide
Step 1: Emptying the tank:
- Ensure the RV is parked in a suitable location with access to a sewer or dumping station.
- Use the appropriate valve to empty the tank completely into a sewer or portable waste tank.
Step 2: Flushing the tank with water:
- Close the valve and add fresh water to the tank.
- Fill the tank until it’s nearly full, allowing the water to loosen any remaining waste.
Step 3: Applying cleaning solution:
- Add the recommended amount of an RV tank cleaning solution to the tank.
- Close the valve and allow the cleaning solution to sit in the tank for the recommended duration.
Step 4: Scrubbing the tank walls:
- Open the valve and drain the cleaning solution.
- Use a long-handled scrub brush or toilet brush to scrub the tank walls, paying particular attention to areas with dried poop residue.
Step 5: Rinsing and re-flushing the tank:
- Close the valve and fill the tank with fresh water.
- Drain the water again to remove any remaining cleaning solution and residue.
Step 6: Sanitizing the tank:
- Add a recommended amount of RV tank sanitizer to the tank.
- Fill the tank with fresh water and allow it to sit for the recommended duration.
- Drain the water completely to complete the sanitization process.
III. Future Maintenance Preventive Measures:
To avoid similar problems in the future, the following preventive measures must be implemented:
1. Make a cleaning schedule for your RV tank:
Create a cleaning and maintenance routine for your RV tank. Regular cleanings will help prevent waste buildup and keep your tank in shape. Consider cleaning the tank at least once every three months, or as recommended by the manufacturer.
2. Adopt proper waste disposal techniques:
To reduce the likelihood of clogs and tank issues, adopt proper waste disposal habits. Use RV-friendly toilet paper that dissolves easily in the tank. Non-biodegradable items such as wipes, sanitary products, or paper towels should not be flushed because they can cause blockages and damage to your tank and plumbing system.
3. Consider tank treatments and additives:
To improve the cleanliness and odor control of your tank, consider using RV tank treatments and additives. These products contain enzymes and bacteria that aid in breaking waste down and reducing odors. Follow the manufacturer’s recommendations for dosage and application frequency.
By taking these precautions, you can keep your RV tank clean and odor-free, extending its lifespan and ensuring a worry-free travel experience.
Conclusion:
How to remove dried poop from an RV tank? Regular maintenance is critical for your RV tank’s long-term performance and functionality. You can ensure a clean and hassle-free tank throughout your RV adventures by following the step-by-step guide we provided to remove dried poop and implement preventive measures. To maintain optimal tank conditions, keep a regular cleaning schedule, use proper waste disposal techniques, and consider using tank treatments and additives.
With a clean and well-maintained RV tank, you can travel without worry and avoid potential problems like odors and clogs. So, take the necessary precautions to keep your tank in good condition, and have a great time exploring the open road in your RV. Best wishes!


