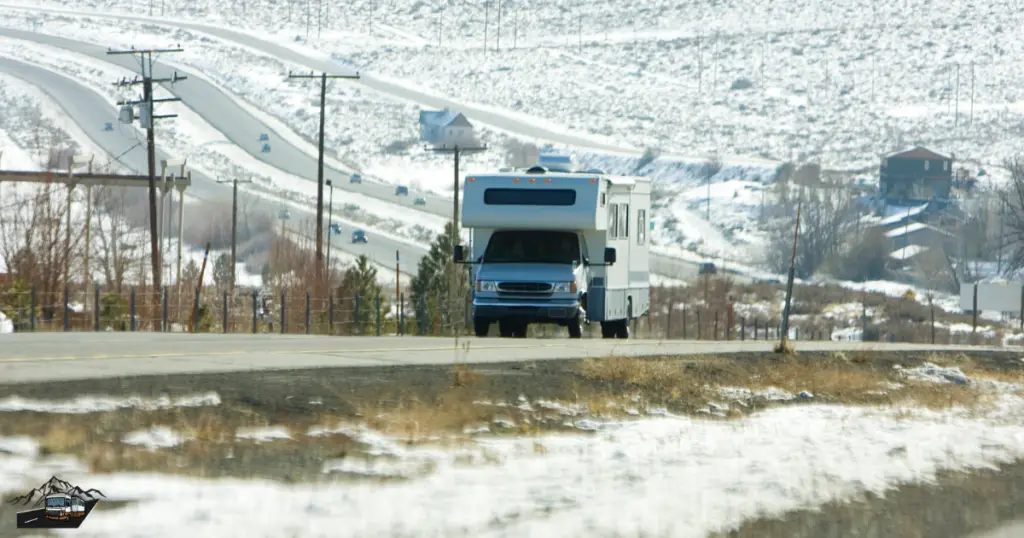
Embarking on a winter adventure with your RV can be exhilarating, but it also comes with the responsibility of protecting your vehicle from the harsh elements. This is where the importance of a reliable RV winterizing kit comes into play. In this guide, we’ll delve into the process of creating your own kit, ensuring your RV stays in top-notch condition throughout the chilly months.
I. Understanding the Importance of RV Winterization
1. Why Winterizing Your RV is Crucial
Winterizing your RV is crucial for several reasons. When the temperatures drop, water inside your RV’s systems can freeze, leading to serious damage. This process is necessary to protect your investment and ensure that your RV remains in optimal condition, ready for your next adventure.
2. Potential Damages if Neglected
Neglecting to winterize your RV can result in a range of damages. The most common issue is frozen water in pipes, causing them to expand and potentially burst. This can lead to costly repairs and significant inconvenience. Additionally, fixtures and water heaters are susceptible to damage if not properly winterized, making the process essential for the longevity of your RV.
II. DIY RV Winterizing Kit Basics
1. Gathering Essential Tools and Materials
Before you start the winterization process, ensure you have all the necessary tools and materials on hand. This includes a water heater bypass kit, a hand pump or air compressor, a socket set, and a water pump converter kit. Having these essentials ready will make the winterization process smoother and more efficient.
2. Choosing the Right Antifreeze
Not all antifreeze is created equal, especially when it comes to your RV. It’s crucial to select an RV-specific antifreeze that is safe for your plumbing and fixtures. This special antifreeze is designed to withstand the unique demands of an RV’s water system, providing the protection needed during the winter months. Take the time to research and choose the right antifreeze for your RV to ensure a successful winterization process.
III. Step-by-Step Guide to Creating Your RV Winterizing Kit
1. Draining and Flushing Water Systems
a. Locate Drain Points: Identify the drain points for your RV’s water systems. This typically includes the fresh water tank, hot water heater, and water lines.
b. Open Drain Valves: Open the drain valves for each system. Allow sufficient time for the water to completely drain out. Ensure all faucets are open to facilitate the process.
c. Flush with Clean Water: Once drained, flush the systems with clean water to remove any remaining traces of water and debris. This step is crucial for preventing contaminants from freezing during winter.
2. Inspecting and Sealing Leaks
a. Thorough Inspection: Carefully inspect your RV for any existing leaks. Check both the interior and exterior, paying close attention to areas around windows, doors, and seams.
b. Sealing Leaks: Promptly seal any identified leaks using an appropriate sealant. This ensures that cold air doesn’t enter your RV during winter, maintaining a comfortable and well-insulated interior.
3. Protecting RV Pipes and Fixtures
a. Prepare Antifreeze Mixture: Follow the instructions on your RV antifreeze to prepare the mixture. This typically involves diluting the antifreeze with water according to the manufacturer’s recommendations.
b. Pump Antifreeze through Water Lines: Use a hand pump or air compressor to pump the prepared antifreeze through all the water lines in your RV. Start with the faucets and move on to other fixtures such as toilets and showers.
c. Ensure Full Coverage: Make sure the antifreeze reaches all parts of the water system, including both hot and cold water lines. This step ensures comprehensive protection against freezing temperatures.
By following these steps, you’ll have successfully created a DIY RV Winterizing Kit, safeguarding your vehicle from potential damages during the winter months.
IV. Step-by-Step Guide to Creating Your RV Winterizing Kit
1. Draining and Flushing Water Systems
1. Locate Drain Points: Identify the drain points for your RV’s water systems. This typically includes the fresh water tank, hot water heater, and water lines.
2. Open Drain Valves: Open the drain valves for each system. Allow sufficient time for the water to completely drain out. Ensure all faucets are open to facilitate the process.
3. Flush with Clean Water: Once drained, flush the systems with clean water to remove any remaining traces of water and debris. This step is crucial for preventing contaminants from freezing during winter.
2. Inspecting and Sealing Leaks
1. Thorough Inspection: Carefully inspect your RV for any existing leaks. Check both the interior and exterior, paying close attention to areas around windows, doors, and seams.
2. Sealing Leaks: Promptly seal any identified leaks using an appropriate sealant. This ensures that cold air doesn’t enter your RV during winter, maintaining a comfortable and well-insulated interior.
3. Protecting RV Pipes and Fixtures
1. Prepare Antifreeze Mixture: Follow the instructions on your RV antifreeze to prepare the mixture. This typically involves diluting the antifreeze with water according to the manufacturer’s recommendations.
2. Pump Antifreeze through Water Lines: Use a hand pump or air compressor to pump the prepared antifreeze through all the water lines in your RV. Start with the faucets and move on to other fixtures such as toilets and showers.
3. Ensure Full Coverage: Make sure the antifreeze reaches all parts of the water system, including both hot and cold water lines. This step ensures comprehensive protection against freezing temperatures.
By following these steps, you’ll have successfully created a DIY RV Winterizing Kit, safeguarding your vehicle from potential damages during the winter months.
V. Tips and Tricks for a Seamless Winterization Process
Certainly, let’s explore some tips and tricks for a seamless RV winterization process:
1. Properly Storing the Kit for Future Use
a. Dry and Clean Components: After completing the winterization process, ensure all components of your DIY kit are thoroughly dried and cleaned. This prevents mold or mildew growth during storage.
b. Store in a Cool, Dry Place: Find a cool, dry place to store your winterizing kit. Avoid areas prone to extreme temperatures or humidity, as these conditions can impact the effectiveness of the materials.
c. Check Expiry Dates: If your kit includes any perishable items, such as antifreeze, check the expiry dates. Replace any expired items before storing the kit to guarantee its efficacy for the next winter season.
2. Regular Maintenance to Extend Kit Lifespan
1. Inspect Components Annually: Perform an annual inspection of your winterizing kit. Check for any signs of wear or damage, and replace or repair components as needed. This proactive approach ensures your kit is always ready for use.
2. Update as Needed: RV technology and materials may evolve. Stay informed about any updates or improvements in winterization techniques and update your kit accordingly. This ensures it remains effective in protecting your RV.
3. Keep a Checklist: Create a checklist detailing the components of your winterizing kit. Use this checklist during maintenance to systematically go through each item, guaranteeing nothing is overlooked.
By following these tips, you not only ensure a smooth winterization process each year but also extend the lifespan of your DIY RV Winterizing Kit, making it a reliable companion for seasons to come.
VI. Cost-Efficiency and Benefits of a DIY Kit
1. Saving Money in the Long Run
Creating your own RV winterizing kit is a cost-effective choice for several reasons:
1. Customization: By assembling your kit, you have control over the components and can select affordable yet high-quality materials. This tailored approach ensures you only pay for what you need.
2. Reuse and Sustainability: Many items in a DIY kit, such as tools and pumps, are reusable. This not only saves money in the long run but also aligns with sustainable practices by minimizing waste.
3. Avoiding Costly Repairs: Investing in a DIY kit now helps you avoid potentially costly repairs later. Damages from frozen pipes and fixtures can result in hefty bills, making prevention a wise financial decision.
2. Tailoring the Kit to Your RV’s Unique Needs
1. Understanding Your RV: DIY kits allow you to consider the unique features and needs of your RV. Whether you have a specific type of water system or unique fixtures, tailoring the kit ensures comprehensive protection.
2. Adjusting for Climate: Depending on your travel destinations, you may need different levels of winterization. Tailoring your kit allows you to adjust the antifreeze concentration or add extra insulation based on the climate you anticipate.
3. Long-Term Savings: A kit customized to your RV’s requirements ensures efficient and targeted protection. This not only prevents damages but also contributes to the longevity of your RV, saving you money on repairs and replacements in the future.
VII. Common Mistakes to Avoid During RV Winterization
1. Rushing the Process: Take your time during the winterization process. Rushing can lead to oversight and incomplete protection, leaving your RV vulnerable to potential damages.
2. Neglecting Interior Spaces: While it’s crucial to protect the exterior, don’t overlook the interior. Ensure all interior spaces are properly insulated to prevent cold drafts and potential damage to sensitive components.
By understanding the financial benefits of a DIY kit and avoiding common mistakes, you not only save money in the long run but also ensure your RV is well-prepared for the winter months.
Conclusion
In conclusion, taking the time to create your own RV Winterizing Kit is a proactive and financially savvy approach to preserving your investment. By understanding the importance of winterization, gathering the right tools, and following a step-by-step guide, you ensure that your RV is protected from potential damage during the colder months.
The cost-efficiency of a DIY kit is evident in the ability to tailor it to your RV’s unique needs. This customization not only saves you money but also contributes to the long-term health and longevity of your vehicle. The benefits extend beyond immediate savings, offering sustainability through the reuse of kit components and preventing costly repairs down the road.
However, it’s essential to approach the winterization process with care. Avoid common mistakes such as rushing through the steps or neglecting interior spaces. Thoroughness in the winterization process is key to guaranteeing a seamless experience when you’re ready to hit the road again.
In essence, crafting your RV Winterizing Kit is a practical investment that pays off in both the short and long term. It ensures your RV remains in top condition, ready to embark on new adventures, and contributes to a hassle-free ownership experience. Prepare your kit, follow the steps diligently, and enjoy the peace of mind that comes with knowing your RV is well-prepared for winter.


