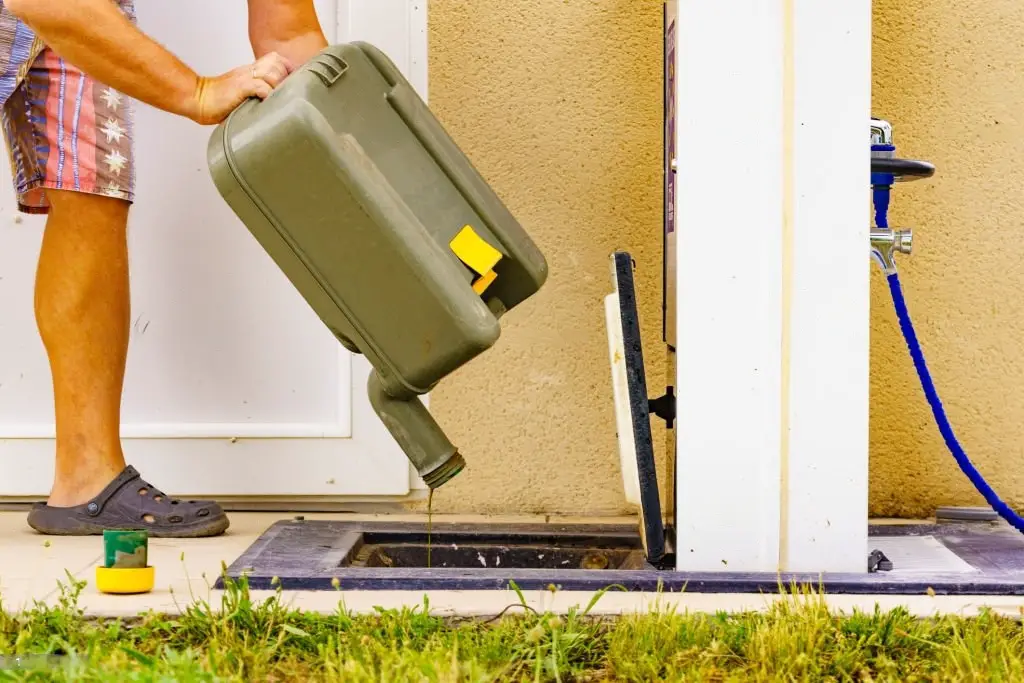
Cleaning your RV’s black water tank is an important task that ensures proper sanitation and prevents unpleasant odors on the road. Regular tank maintenance will not only keep your RV smelling fresh but will also extend the life of your sewage system. In this comprehensive guide, we will walk you through cleaning and maintaining your RV black water tank step by step.
I. Understanding the RV Black Water Tank:
The black water tank in your RV is designed to hold human waste and toilet paper until it can be properly disposed of at a dump station. It is essential to understand the function and importance of this tank to ensure proper cleaning and maintenance.
II. Preparing for the Cleaning Process:
Gather all of the necessary supplies before beginning the cleaning process to ensure a smooth and efficient cleaning operation. To prepare, follow these steps:
1. Get the Right Tools:
Check that you have all of the necessary cleaning supplies on hand. You’ll need the following supplies:
a. Gloves: Wear disposable gloves to protect your hands from coming into direct contact with waste materials.
b. Sturdy sewer hose: Join one to the RV’s black water tank outlet. Make sure it’s long enough to reach the waste disposal area or dump station.
c. Tank Cleaning Wand: Invest in a tank cleaning wand to effectively reach and clean the interior of the black water tank.
d. Non-Toxic Tank Cleaning Solution: Select a high-quality, non-toxic tank cleaning solution specifically designed for RV black water tanks. Avoid using harsh chemicals that could harm the tank or the environment.
e. Bucket: Have a bucket nearby to collect any waste or excess cleaning solution.
2. Find a Dump Station:
Before you start cleaning, locate the nearest dump station or designated waste disposal area where you can safely empty your black water tank. To avoid unnecessary delays, plan your route accordingly.
3. Safety First:
Because RV black water tanks contain dangerous bacteria, it’s critical to exercise caution. Wear gloves throughout the process and avoid any direct contact with the contents of the tank.
Once you’ve gathered all of the necessary supplies and located a dump station, you’re ready to begin cleaning your RV’s black water tank. To ensure a thorough and effective cleaning process, follow the step-by-step guide in the following section.
III. Cleaning the RV Black Water Tank: Step-by-Step Guide
Step-by-Step Instructions for Cleaning the RV Black Water Tank
Step 1: Gather your materials.
Gather all of the cleaning supplies listed in the preparation section.
Step 2: Make certain that safety precautions are in place.
Wear gloves and follow safety precautions to avoid contamination and protect yourself from harmful bacteria.
Step 3: Clean out the black water tank.
Connect the sewer hose to the black water tank outlet on your RV and the dump station. Completely empty the tank.
Step 4: Rinse the tank
Rinse the interior of the black water tank thoroughly with a tank cleaning wand. Make certain that all waste residues are washed away.
Step 5: Make use of tank cleaning solutions.
Fill the tank with a non-toxic tank cleaning solution and follow the manufacturer’s instructions. This will aid in the breakdown of any remaining waste and the elimination of odors.
Step 6: Flush and rinse the tank.
To remove the cleaning solution, refill the black water tank with clean water and repeat the rinsing process.
Step 7: Clean the tank’s exterior.
Clean the tank’s exterior with soapy water and a soft brush. Rinse it off thoroughly to ensure a clean surface.
IV. Maintaining a Clean RV Black Water Tank:
Cleaning your RV black water tank is vital, but maintaining its cleanliness is equally important to ensure a pleasant and trouble-free RVing experience. Follow these essential tips for ongoing maintenance:
1. Inspections:
Inspect your RV black water tank on a regular basis for signs of damage, leaks, or other issues that may need to be addressed. Early detection of problems can help to avoid more significant and costly repairs later on.
2. Proper Waste Disposal:
Adopt responsible waste disposal habits to keep your black water tank in top shape. Only human waste and RV-friendly toilet paper should be flushed. Avoid disposing of any other items or chemicals that could cause clogs or tank damage.
3. Odor Control:
Unpleasant odors are a common problem with RV black water tanks. Consider using enzyme-based tank treatments on a regular basis to keep your RV smelling fresh. These treatments effectively break down waste and control odors.
4. Check Tank Levels:
Keep an eye on the tank level indicators on the control panel of your RV. Overfilling the black water tank can result in messy backups. Based on the tank levels, plan your waste disposal stops accordingly.
5. Proper Tank Flushing:
After each dump, flush the black water tank with enough water to ensure that all waste residues are washed away. Adequate flushing promotes cleanliness and prevents the accumulation of solid waste.
6. Use RV-Friendly Products:
When cleaning your RV, choose products that are specifically designed for RV use. Chemicals in common household cleaners may be harmful to the tank or its components.
7. Keep Tank Valves Closed When Stationary:
When your RV is parked, keep the black water tank valve closed to prevent sewage gases from entering. Open the valve only when you’re ready to empty the tank at a proper dump station.
You can keep your RV’s black water tank clean, odor-free, and in good working order by following these maintenance tips. A well-maintained black water tank will make camping more enjoyable and stress-free for you and your fellow travelers.
Conclusion
In conclusion, a clean and well-maintained RV black water tank is crucial for a pleasant and hassle-free journey. Follow the step-by-step cleaning guide and practice responsible waste disposal to keep your RV smelling fresh and prevent costly issues. Happy RVing!


