I. What are RV Outlets and Their Importance?
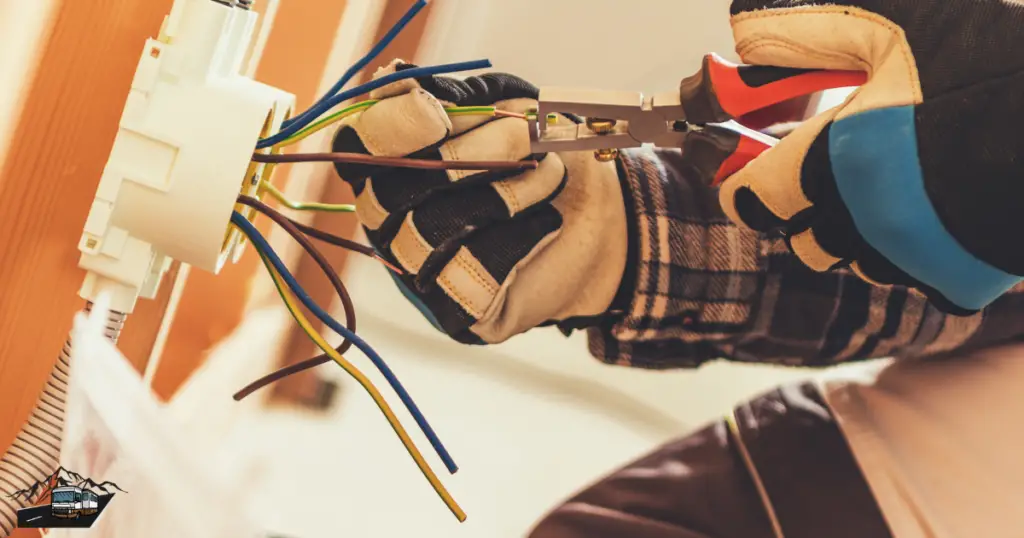
RV outlets are electrical sockets that are installed in recreational vehicles to power various devices and appliances. They are necessary for a comfortable living environment inside the vehicle, as they allow you to run lights, charge electronics, and power kitchen appliances. Understanding how these outlets can operate on battery power is essential, particularly for off-grid camping or during power outages.
II. How do RV Outlets Work on Battery?
A well-designed electrical system allows RV outlets to operate on battery power. The battery is charged when the RV is connected to an external power source, such as shore power or a generator. The battery then acts as a power reservoir, supplying electricity to the outlets even when the power is turned off. This configuration allows you to use your RV appliances and devices without requiring a constant external power supply.
III. Step-by-Step Guide to Implementing Battery-Powered RV Outlets:
Step 1. Gather the Necessary Tools and Materials:
Before you start installing battery-powered RV outlets, make sure you have all of the necessary tools and materials. Having everything ready ahead of time will ensure a quick and easy installation. The following are the tools and materials you will require:
1. Wire Cutters: During the installation process, wire cutters are required to cut and prepare the battery cables to the appropriate lengths.
2. Crimping Tool: A crimping tool is used to securely attach connectors to the ends of battery cables. Electrical connections are more reliable when connectors are properly crimped.
3. Screwdrivers: Various types and sizes of screwdrivers will be required to loosen and tighten screws during the installation of the battery and other components.
4. Deep-Cycle Batteries: Deep-cycle batteries are designed to provide a steady and consistent flow of power over an extended period. They are ideal for RV applications because they can withstand repeated discharging and recharging without being damaged.
5. Battery Cables: To connect the deep-cycle batteries to the RV’s electrical system, high-quality battery cables are required. To minimize power loss and ensure efficient power transmission, these cables should be of the appropriate length and thickness.
6. Battery Box: A battery box is used to secure and protect deep-cycle batteries from the elements. It also prevents accidental short circuits and ensures operational safety.
Step 2. Locate and Disconnect from External Power Source:
Before you start working on the installation of battery-powered RV outlets, it’s essential to locate the main power source that supplies electricity to your RV. Typically, the external power source can be shore power (connected to an electrical pedestal at a campground) or a generator. Follow these steps to locate and safely disconnect from the external power source:
1. Turn Off Appliances: Before disconnecting from the external power source, turn off all appliances and devices inside the RV. This step prevents any electrical surges or hazards from occurring during the disconnection process.
2. Locate the Power Connection: The power connection is usually located on the RV’s exterior and may be hidden behind a protective panel. Look for a power inlet where the external power cord is connected.
3. Turn Off the RV’s Power Supply: Locate the main power control panel or the power switch for the electrical system inside the RV. To avoid any electrical flow while disconnecting, turn off the RV’s power supply.
4. Unplug the Power Cord: Remove the power cord from the power inlet with care. Untangle the cord if it is coiled to avoid damage. Pull the plug out gently to ensure a smooth disconnection.
5. Safely Store the Power Cord: After disconnecting, properly store the power cord in a designated storage compartment or area to keep it clean and protected from potential damage.
Step 3. Choose the Right Battery System:
Selecting the right battery system is a critical step in setting up battery-powered RV outlets. A high-quality deep-cycle battery is essential for providing a reliable and steady power supply to your RV’s electrical appliances and devices. Here are the key factors to consider when choosing the right battery system:
1. Capacity: The total amount of energy that a battery can store is measured in ampere-hours (Ah). Consider your power requirements as well as the energy consumption of your RV appliances. Choose a larger-capacity battery if you intend to use power-hungry devices or stay off the grid for an extended period of time.
2. Voltage: RV deep-cycle batteries typically come in 12-volt or 6-volt options. Check the electrical system specifications for your RV to determine the proper voltage for your battery system. Check that the voltage of the battery matches the requirements of your RV’s electrical components.
3. Deep-Cycle Batteries vs. Starter Batteries: Deep-cycle batteries are built to withstand frequent discharge and recharging, making them ideal for RV applications. Regular car starter batteries should be avoided because they are not designed for continuous use and may not provide enough power for your needs.
4. Compatibility: Make sure the battery system you choose is compatible with the electrical system in your RV. Some RVs may have unique requirements or configurations, so make sure the battery matches the configuration of your RV’s electrical components.
5. Quality and Brand: Invest in a reputable and high-quality battery brand that is known for its durability and dependability. Reliable brands frequently provide better warranties, ensuring peace of mind and support in the event of a problem.
6. Maintenance Requirements: Consider the battery system’s maintenance requirements. To ensure optimal performance and longevity, some batteries require periodic maintenance such as checking water levels and cleaning terminals.
7. Available Space: Assess the available space in your RV for battery placement. Some battery systems may require additional accessories such as battery boxes or trays, so make sure they will fit within the designated battery compartment in your RV.
8. Budget: Establish a budget for your battery system, keeping in mind that high-quality deep-cycle batteries are more expensive, but they are a worthwhile investment in the long run.
Step 4. Install the Battery System:
Once you have chosen the right battery system for your RV, it’s time to proceed with the installation process. Proper installation is essential for the safe and efficient functioning of battery-powered RV outlets. Follow these steps to install the battery system:
1. Select an Appropriate Location: Install the battery system in a safe and well-ventilated location inside your RV. Many recreational vehicles have a dedicated battery compartment or area for this purpose. Make sure the location is away from direct sunlight, extreme heat, and moisture sources.
2. Prepare the Battery Box: Insert the deep-cycle battery into the appropriate battery box. The battery box protects the battery from damage and adds an extra layer of security by preventing accidental short circuits.
3. Secure the Battery: Use straps or brackets to firmly secure the battery within the battery box. This eliminates any movement or vibration during travel, lowering the risk of battery and surrounding component damage.
4. Connect the Battery Cables: Connect the battery cables to the appropriate battery terminals. Connect the positive (+) terminal to the RV’s electrical system’s positive (+) terminal and the negative (-) terminal to the RV’s electrical system’s negative (-) terminal.
5. Follow the manufacturer’s directions: Consult the manufacturer’s instructions and guidelines for the battery system you’ve chosen. Different battery systems may have different installation requirements, and adhering to the manufacturer’s guidelines ensures a proper and safe installation.
6. Check for Secure Connections: Verify that all connections are secure and free of any loose or exposed wires. Loose connections can cause voltage drops and reduce battery system efficiency.
7. Test the Battery System: Before closing the battery compartment or area, test the battery system by turning on some low-power RV appliances, such as interior lights. Check that the outlets are receiving power and that the battery system is working properly.
8. Safety Precautions: Always use appropriate safety precautions when handling batteries, such as gloves and safety glasses. Batteries contain sulfuric acid, which can be harmful to the skin and eyes if it comes into contact with them.
Step 5. Connect the Battery to RV Outlets:
After you’ve safely installed the battery system in your RV, the next step is to connect it to the RV outlets. You’ll need an inverter to convert the DC (Direct Current) power from the battery into the AC (Alternating Current) power needed to operate standard RV outlets. To connect the battery to the RV outlets, follow these steps:
1. Choose the Correct Inverter: Select an inverter that meets the power requirements of your RV outlets. Consider the total wattage of the appliances and devices you intend to use at the same time. Ascertain that the inverter can handle peak power demands without overloading
2. Inverter Positioning: Locate a suitable location within the RV to mount the inverter. It should be close to the battery and well-ventilated in order to dissipate any heat generated during operation.
3. Connect the Inverter to the Battery: Connect the positive (+) and negative (-) terminals of the inverter to the corresponding terminals of the deep-cycle battery using appropriate gauge cables. For the proper cable sizes and connections, follow the manufacturer’s instructions.
4. Connect the Inverter to the RV’s Power System: Connect the inverter’s output terminals to the RV’s main electrical distribution panel. This will connect the inverter’s alternating current power to the RV’s electrical system, allowing you to power the outlets.
5. Test the Outlets: Turn on the inverter and test the RV outlets to ensure they are receiving power. To ensure consistent power distribution, check multiple outlets throughout the RV. Check that the appliances and devices connected to the outlets are working properly.
6. Consider a Transfer Switch (Optional): Install a transfer switch for added safety and convenience. Based on availability, a transfer switch switches between the inverter’s power and any external power source, such as shore power or a generator. This helps to avoid potential electrical problems and ensures a continuous power supply.
7. Monitor Battery Levels: While using the outlets, keep an eye on the battery’s charge levels. Deep discharging the battery can reduce its lifespan, so avoid completely draining it. Recharge the battery as needed to keep a steady power supply.
IV. The Advantages of Battery-Powered RV Outlets:
Battery-powered RV outlets provide numerous advantages, including the ability to camp off-grid, reduce noise pollution, and enjoy nature without sacrificing comfort. Furthermore, they serve as a backup power source in the event of an emergency.
V. Battery Maintenance Suggestions:
Monitor the battery’s charge on a regular basis and recharge it as needed to maintain battery efficiency. Use energy-efficient appliances and turn off devices when not in use to reduce energy consumption. Keep the battery and its connections clean and well-maintained as well.
Conclusion:
You can live a more flexible and adventurous lifestyle with battery-powered RV outlets. You can enjoy the convenience of electrical power while exploring the great outdoors by following our step-by-step guide and implementing the proper battery system. With battery-powered outlets, you can embrace the freedom and joy of RV travel!


