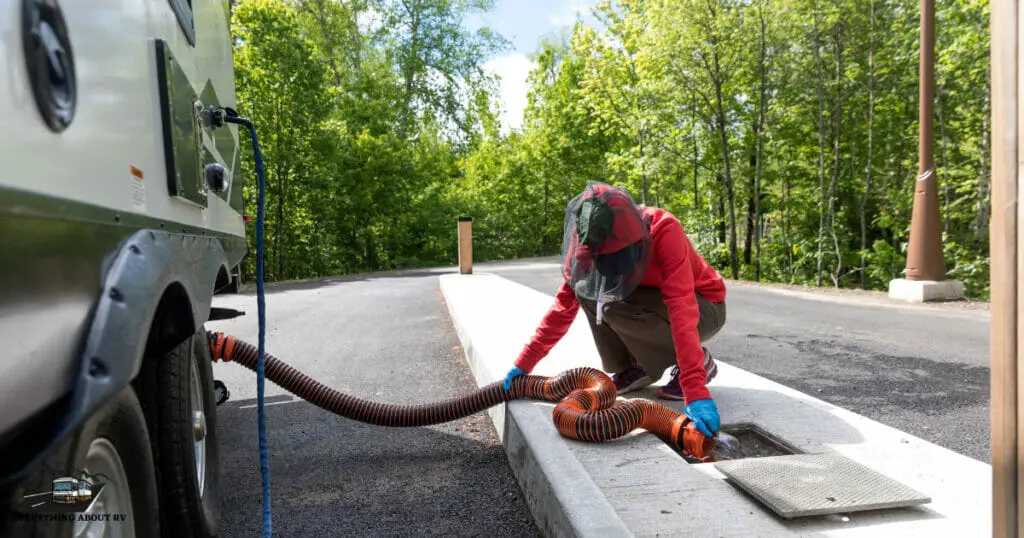
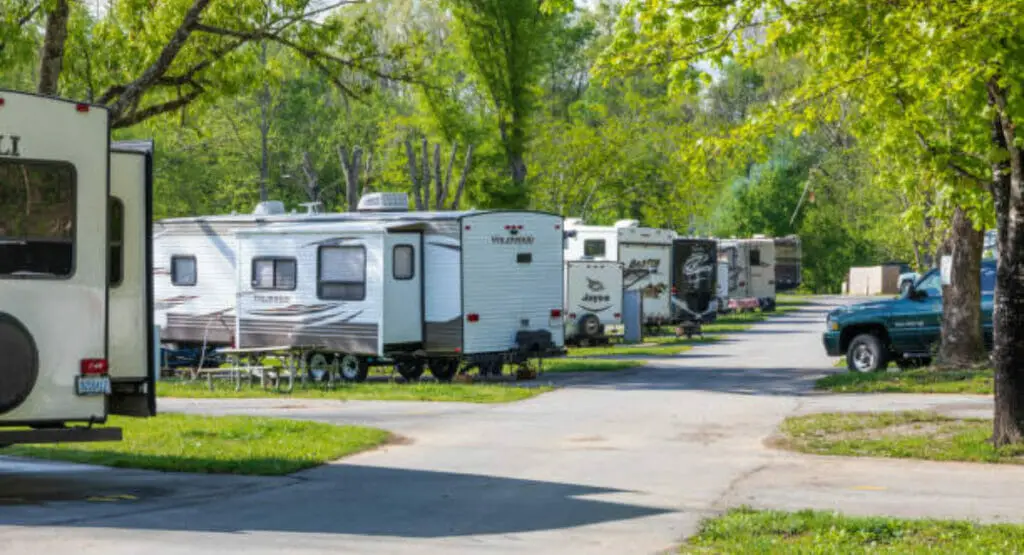
A well-functioning sewage system is essential for a pleasurable RV camping experience. It collects and disposes of waste from black and gray water tanks, and a faulty system can cause unpleasant odors, leaks, and health hazards. Building a DIY sewage drainage system may appear difficult, but it is a doable project that can save you money and allow you to tailor the system to your specific needs. This guide will walk you through the process of installing a sewage drainage system in your RV, including components, tools, installation, testing, and maintenance advice. By taking safety precautions and regularly maintaining your system, you can have a worry-free camping experience for years to come.
I. Understanding the RV Sewage Drainage System
To get started, it’s important to understand the three main components of an RV sewage drainage system: the black water tank, the gray water tank, and the drain valves. The gray water tank holds wastewater from sinks and showers, while the black water tank holds human waste and toilet paper. The drain valves are in charge of removing waste from both tanks. Understanding these components is critical for designing and installing a sewage drainage system that is effective and efficient. You can ensure that your system is built to meet your needs and runs smoothly by having a basic understanding of these components.
II. Preparing for the Installation
Preparing for the installation of an RV sewage drainage system requires a few steps to ensure a smooth and successful installation. Here are the key steps to follow:
Step 1:
Carefully read the manufacturer’s instructions to understand the specific requirements and recommendations for your RV’s sewage system.
Step 2:
Gather all the necessary tools and equipment for the installation, such as a hacksaw, drill, and fittings.
Step 3:
Choose a suitable location for the sewage outlet and measure the distance from the tanks to the outlet to determine the length of pipes and fittings needed.
Step 4:
Purchase the necessary fittings and connectors to ensure you have all the components required for the installation.
III. Building the RV Sewage Drainage System
Here are the steps to follow when building your RV sewage drainage system:
Step 1: Install the drain valves.
Begin by installing the drain valves on the black and grey water tanks. Carefully follow the manufacturer’s instructions and make sure the valves are securely attached.
Step 2: Connect the pipes.
Cut the PVC pipes to the proper length and connect them between the tanks and the drain valves. Connect the pipes to the valves and tanks with fittings.
Step 3: Plug in the outlet.
Put the outlet in the desired location. To ensure a secure connection, use the proper size and type of fitting.
IV. Testing and Maintenance
You must test the RV sewage drainage system after it has been installed to ensure that it is functioning properly. Here are the steps to take:
Step 1: Add water to the tanks
Fill the tanks with water and add a small amount of dish soap.
Step 2: Drain the tanks.
Open the drain valves and allow the water and soap mixture to drain.
Step 3: Inspect for leaks
Look for any leaks in the pipes, valves, and fittings.
Follow these guidelines to maintain your RV’s sewage drainage system:
Connect your RV to the campground’s sewage system with a sewer hose.
To avoid clogging the pipes, use biodegradable toilet paper.
Clean the tanks on a regular basis to avoid odor buildup.
Conclusion
It is not difficult to construct a DIY RV sewage drainage system, but it does necessitate careful planning and execution. Before beginning the installation, follow the steps outlined in this guide and make sure you have all of the necessary tools and equipment. You can enjoy your camping experience without worrying about mishaps if you have a properly functioning sewage drainage system. Always remember to take safety precautions throughout the process and to keep your system in good working order. Have a great time camping!


