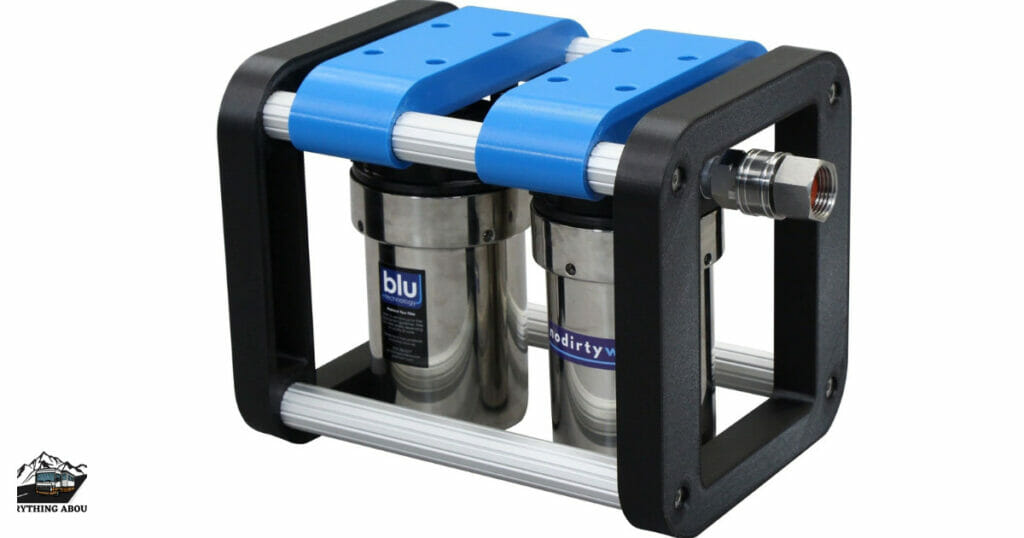
Water is a necessity for any RV traveler, but not all water sources are made equal. If you’re filling up your RV’s tank from a campground spigot or a natural source, make sure the water is safe to drink and use. This is where an RV water filtering system can help. You can remove impurities, improve taste and odor, and enjoy clean, pure water wherever you go with the correct filtration system.
I. Choosing the Best RV Water Filtration System
There are various aspects to consider when choosing an RV water filtration system:
1. Systems available:
There are several filtration systems, including carbon filters, reverse osmosis systems, and UV systems. Each has advantages and disadvantages, so it is critical to investigate and select the one that best meets your demands and budget.
2. Capacity and flow rate:
The filtration system’s capacity and flow rate define how much water it can filter and how quickly it can do so. To decide the optimum capacity and flow rate, consider the size of your RV and the number of people you’ll be traveling with.
3. Certification:
Look for NSF International or the Water Quality Association-certified RV water filtration systems. These certifications ensure that the system meets specified water quality and safety criteria.
II. How to Install an RV Water Filtration System
Installing an RV water filtration system is a fairly straightforward process, but it does require some basic tools and materials. Here’s what you’ll need:
1. Water filtration system
2. Hoses and fittings
3. Wrenches and pliers
4. Teflon tape
5. Drill and bits
Follow these steps to install your RV water filtration system:
1. Choose a location:
The first step is to choose a location for your filtration system. You’ll want to place it in a spot that is easily accessible for maintenance and close to your water intake source.
2. Install mounting brackets:
Once you’ve chosen a location, install mounting brackets to secure the filtration system in place.
3. Connect hoses and fittings:
Use hoses and fittings to connect the filtration system to your RV’s water intake source and plumbing.
4. Add Teflon tape:
Use Teflon tape to seal any threaded connections to prevent leaks.
5. Test the system:
Turn on the water supply and check for any leaks or issues with water flow. Once you’ve confirmed everything is working properly, you’re ready to use your new RV water filtration system!
III. RV Water Filtration System Maintenance
It is critical to maintain your RV water filtration system in order for it to continue to perform correctly and produce clean, pure water. Here are some routine maintenance activities to perform:
1. Clean and Sanitise the System:
Depending on your filtration system, you may need to clean and sanitize it on a regular basis to remove any buildup or bacteria. Follow the manufacturer’s cleaning and sanitizing guidelines for your specific system.
2. Replace Filters:
To remain effective, most filtration systems require regular filter replacement. Follow the manufacturer’s replacement frequency guidelines. If you’re traveling in places with exceptionally poor or contaminated water, some filters may need to be updated more frequently.
3. Examine for Leaks:
Look for any leaks or drips from the filter system or hoses. Address any faults as soon as possible to avoid damage or water waste. Regularly inspect all connections and fittings to ensure they are tight and secure.
Conclusion
Investing in an RV water filtration system is a smart choice for any traveler who wants to ensure safe, clean water on the road. By choosing the right system, installing it correctly, and performing regular maintenance, you can enjoy fresh, delicious water wherever your adventures take you. Don’t compromise on the quality of your water – get a filtration system for your RV today!


